Is a test protocol always provided after a repair?
Yes — handing over a full set of protocols is standard practice for a reputable repair shop. It confirms the scope and quality of the work performed and is needed for any warranty claim.
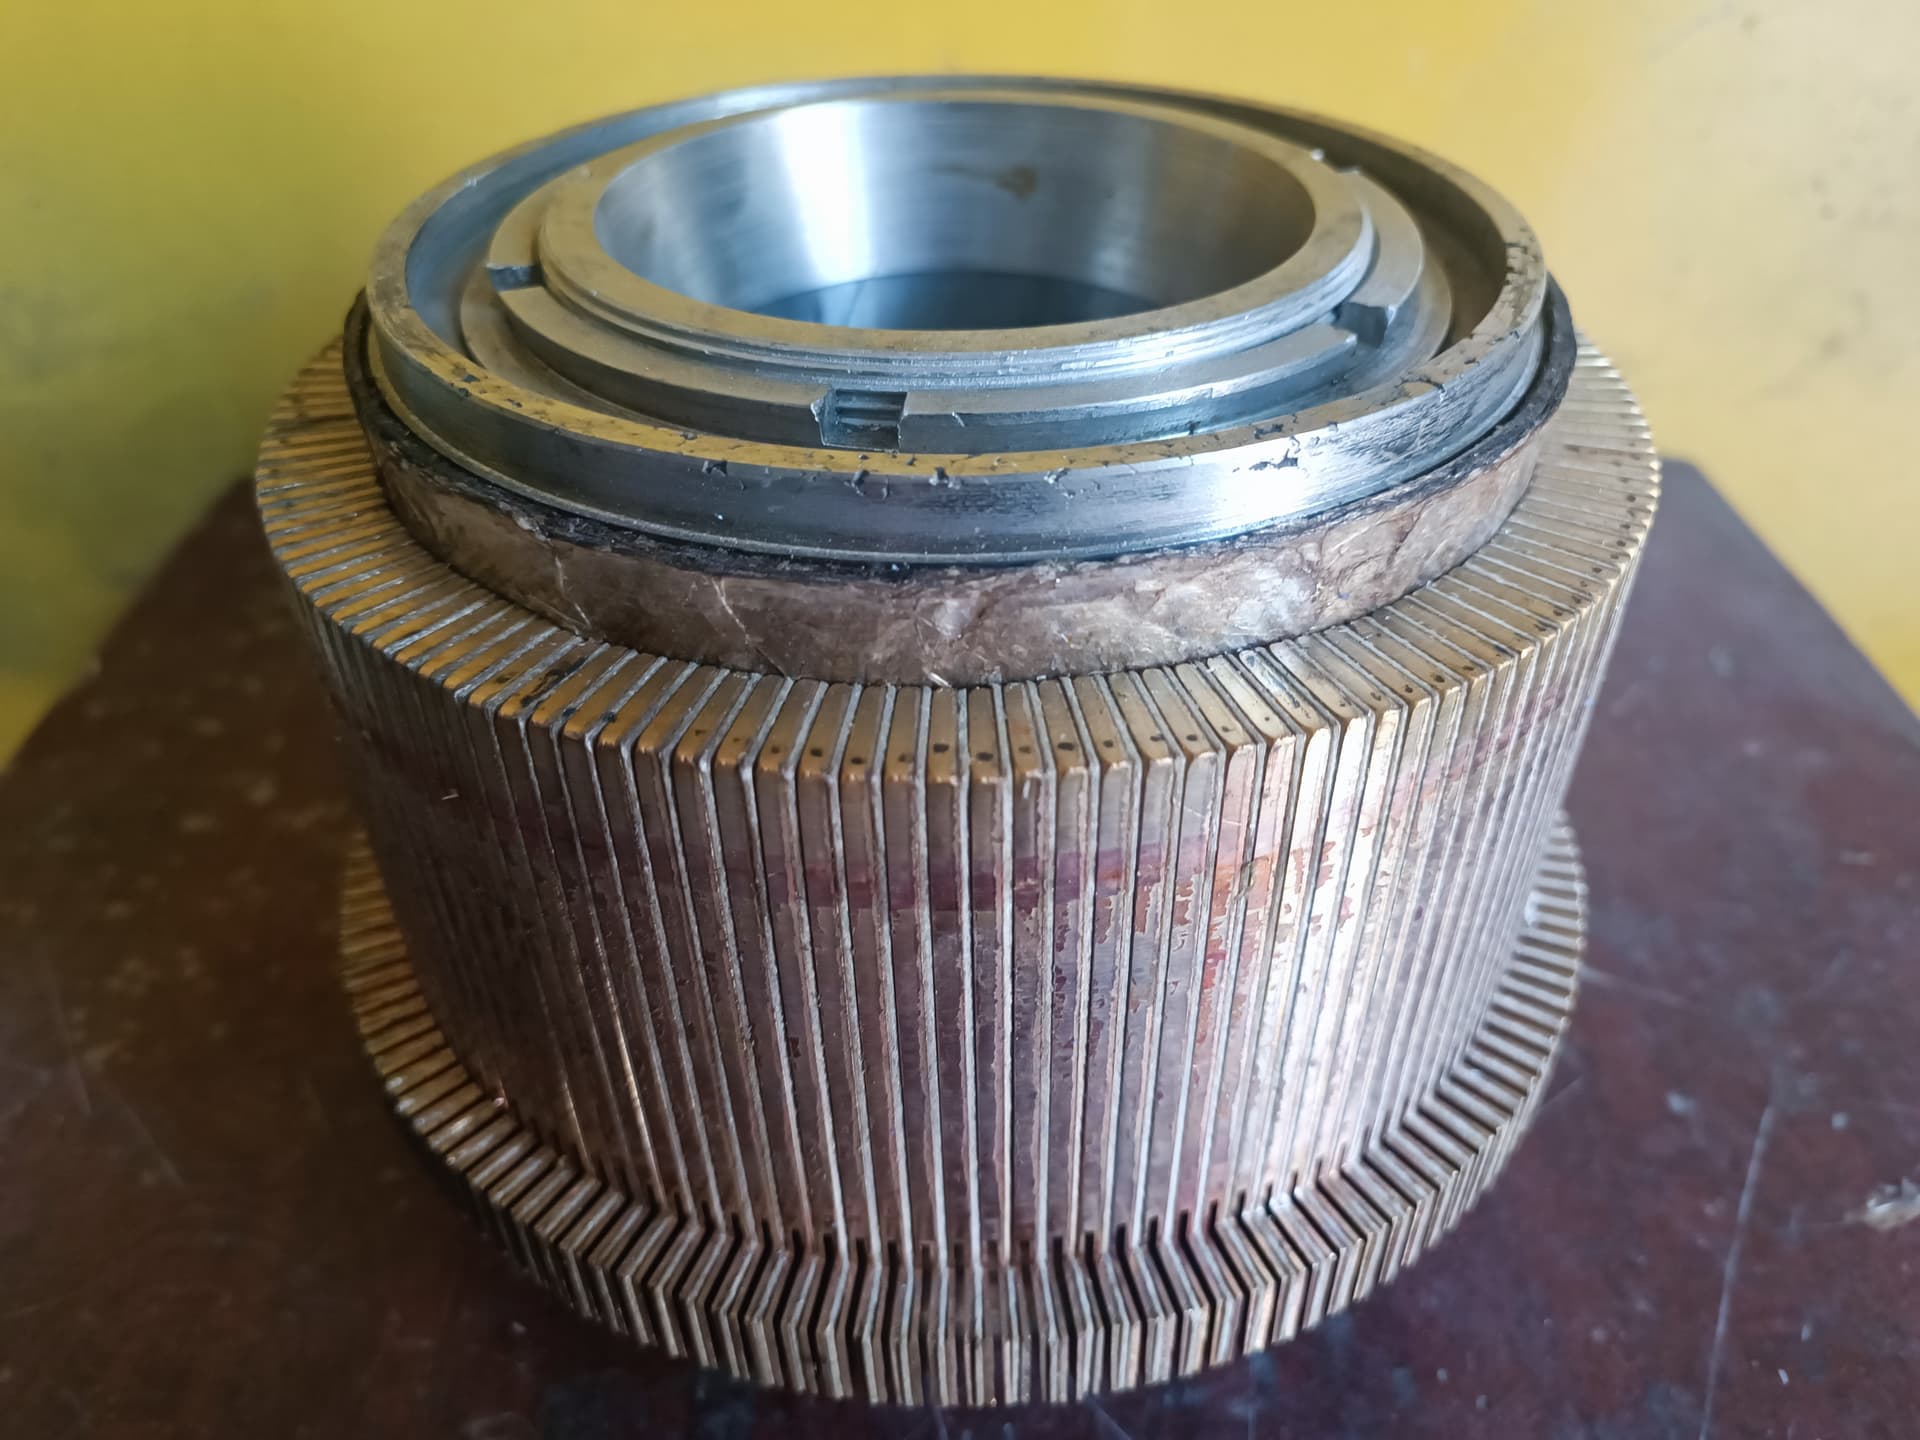
Accepting a motor back from repair is not a formality — it is the last point at which a problem can be caught and fixed without stopping production. Once the motor is installed on site, coupled to its driven machine and running, fixing even a minor issue becomes far more expensive: it means a line stoppage, another removal and reinstallation, and in the worst case, damage to adjoining equipment.
This article is written from the customer’s side: what to check, which documents to ask for, and what to watch for before signing the handover certificate. A detailed technical description of the tests themselves — which ones are run and why — is covered in a separate article on post-repair motor testing.
While the motor is still on the repair shop floor, any shortcoming — from an incorrect bolt torque to an unstable no-load current — can be corrected on the spot, by the same people who just did the repair.
Once the motor is installed on site, coupled to its driven mechanism and running, the picture changes: sending it back for a re-check means stopping the process, removing the coupling or pulley, disconnecting cables, and sometimes dismantling part of the adjoining equipment. If an unnoticed fault causes an unplanned shutdown, the resulting losses can dwarf the cost of the repair itself.
Checking at handover is not a sign of distrust in the repair shop — it is standard practice: it confirms that the work performed matches the agreed scope, and that the machine is ready for extended service with no hidden defects.
A reputable repair shop hands over a full document package with a repaired motor — one that supports both the reason for the repair and its outcome.
If any of these documents is missing, ask for it directly before signing the handover certificate — once the motor has been paid for and taken away, getting the protocols afterward is much harder.
Part of the check needs no instruments at all — just a careful look at the machine.
This does not replace electrical and mechanical testing, but it lets you rule out obvious assembly shortcomings on the spot.
A protocol is not just a formality — it is a set of actual measurements that can be checked against the reference values for that machine’s insulation class, voltage and power.
The specific acceptable values depend on the machine type, insulation class, voltage, power and the applicable standards — there is no single universal "correct number" for every motor. What matters is that the protocol carries actual measured values, not just a bare conclusion of "the motor is fine."
Even with every protocol in order, the first hours and days of operation in the motor’s actual location are a continuation of the quality check, not the end of it.
After installation and startup, keep an eye on:
This running-in period matters because some defects — brushes that are not fully bedded in, a small residual imbalance, a bearing fit that is not quite right — do not show up immediately, but only after a few hours or days under the real load that a test bench never fully reproduces.
Treat any of the following, appearing soon after the motor goes back into service, as a warning sign:
None of these on its own always means a botched repair, but together they are a reason to contact the repair shop right away rather than wait and see.
The sooner a problem is documented and the more complete the evidence, the easier and faster it is to resolve under warranty.
Yes — handing over a full set of protocols is standard practice for a reputable repair shop. It confirms the scope and quality of the work performed and is needed for any warranty claim.
Usually a few hours of continuous running with temperature, vibration and current monitored — the exact duration depends on the machine’s power and its duty.
Shut the motor down if the signs are dangerous, record the circumstances and instrument readings, and contact the repair shop right away, referencing the warranty terms.
Partly — a visual inspection, checking the documentation, and watching how the motor runs in its first hours all need no instruments. Electrical parameters can only be verified from the test protocols.
That is a serious reason to question the quality of the repair. Insist on getting the results confirmed in writing before signing the handover certificate.
No. Paint is a cosmetic detail, not a technical one. Make sure it is not hiding cracks or dents, and rely on the test protocols as the real evidence.
EPR (Elektropromremont) hands over a full set of test protocols with every completed repair, regardless of the machine type or the scope of work performed. This lets the customer judge the outcome of the repair objectively before the motor is even installed on site, and keeps a documented history of the machine for future service.
The document package the customer receives includes:
This material is for informational purposes. The values, diagnostic methods, scope of work and recommendations given here are general and do not replace the manufacturer’s technical documentation. The final decision for a specific machine is made from its own diagnostics and inspection, taking into account its type, power, design, duty, operating history and applicable standards.
We provide a full set of test protocols and walk you through the results of every test, so you can accept your motor back from repair with confidence.